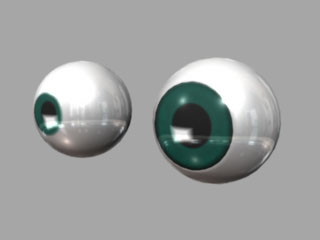
In this tutorial, I am going to explain a method of setting the material of eyeballs.
It is a method that is easy to correspond to the change in the size of the iris and pupil.
For the explanation about the basic method of making eyeballs, please refer to
Maya tutorials: making eyeballs and building its materials (1) simple method
 a method that has of generality
The size of the iris and pupil greatly influences the character setting of the character.
I explain a method of the modeling and setting of the material
that changes the size of the iris and pupil easily.
The materials are same as Maya tutorials: making eyeballs and building its materials (1) simple method
We use a Layered Shader for the material of the cornea and the sclera(white of the eye).
It is made to correspond easily even if the size of the iris and pupil changes.
I think that this method is effective to make the scene where a lot of characters appear.
 modeling
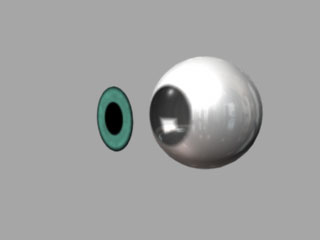
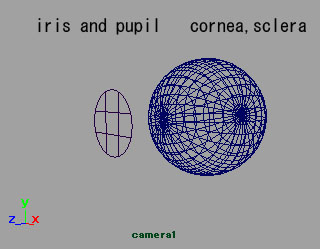
I made two parts. They are the iris and pupil, and the cornea and the sclera.
 the material of the iris and pupil
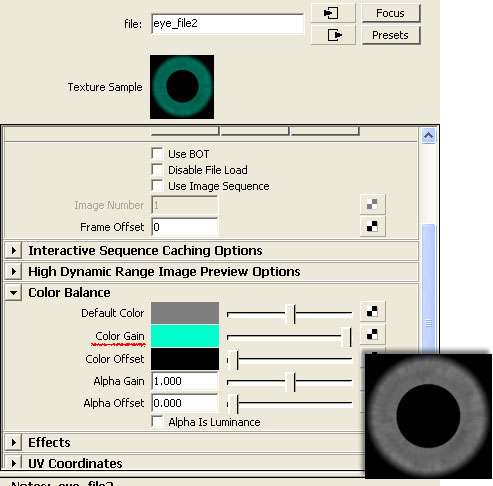
The material of the iris and pupil is same as "(1) simple method".
If you make the image material from black and white
and set the Color Gain of the File Texture,
you can change the color easily.
 the material of the cornea and the sclera(white of the eye).
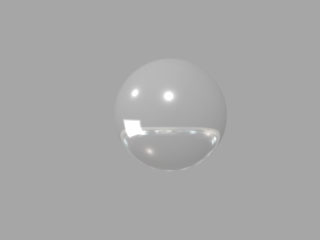
Make a material of the cornea that is same as "(1) simple method".
Assign it to a sphere and confirm the material.
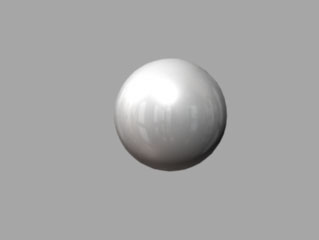
Make a material of the sclera that is same as "(1) simple method".
Assign it to a sphere and confirm the material.
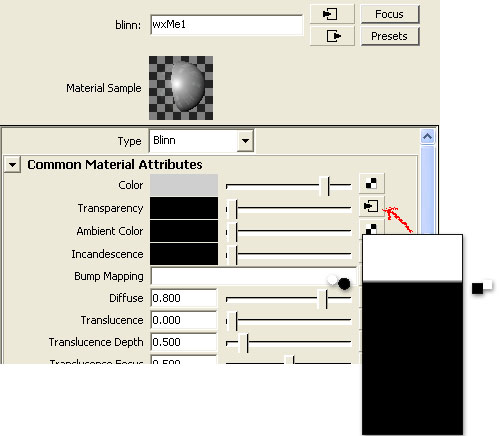
Connect a Ramp Texture to the Transparency of the material of the sclera
to make transparent part.
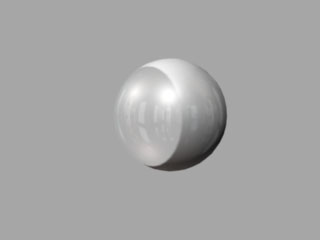
The above figure was made transparent by Ramp Texture.
(Set UVs if you use a polygon model)
It is not transparent complete the part including the highlight and reflecting.
You will connect the value in which Ramp Texture is reversed
by using the Reverse utility.
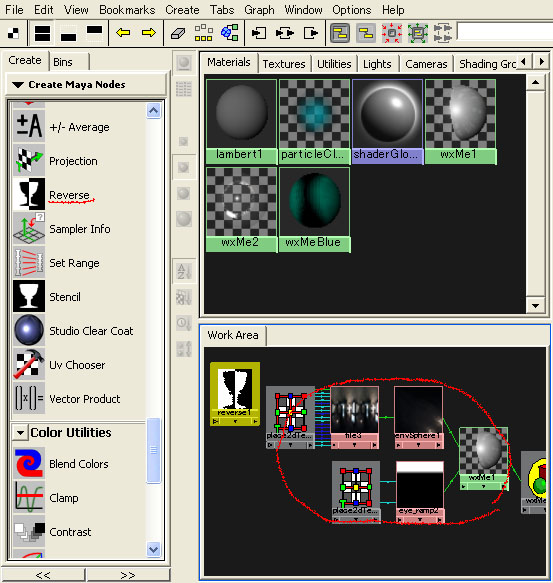
Display the connection of the material of the sclera in the Work Area of the Hypershade.
(Select the material and click the Input and Output Connection button)
Click the Reverse in the Create Maya Nodes (the left area of the Hypershade),
then a Reverse will appear in the Work Area
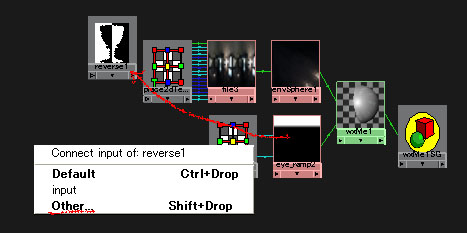
Drag and drop the Ramp Texture to the Reverse with  .
.
Then a window will open, select Other.
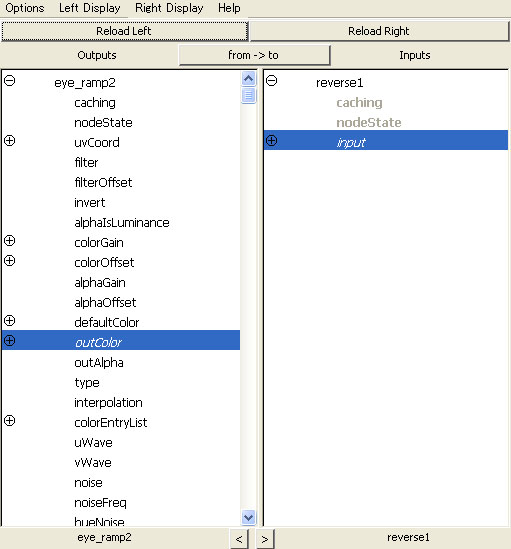
Then the Connection Editor will open, select outColor and input.
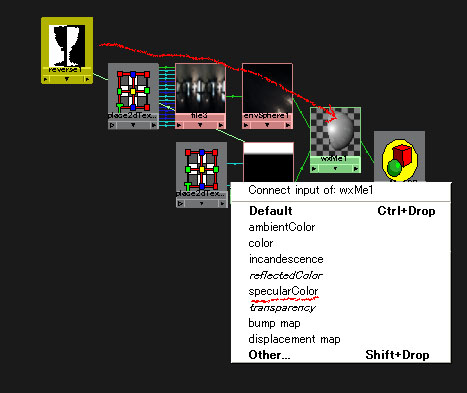
Drag and drop the Revers to the blinn material with  .
.
Then a window will open, select specularColor.
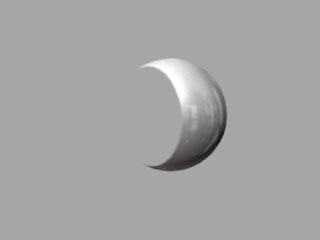
The transparent part came off completely.
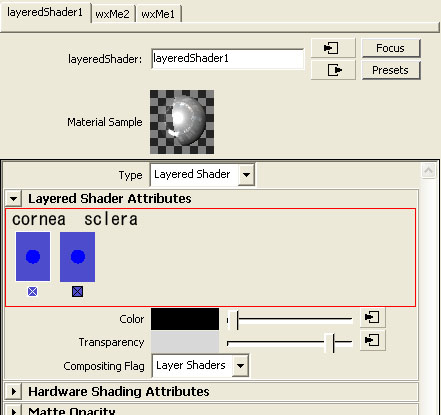
Make a Layered Shader, drag and drop the material of the cornea
and the material of the sclera from the Hypershade
to the area which is enclosed in red with  .
.
Arrange it from the left in order of the cornea and the sclera.
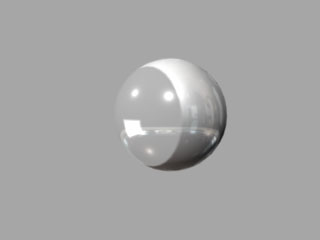
Assign the Layered Shader to the sphere.
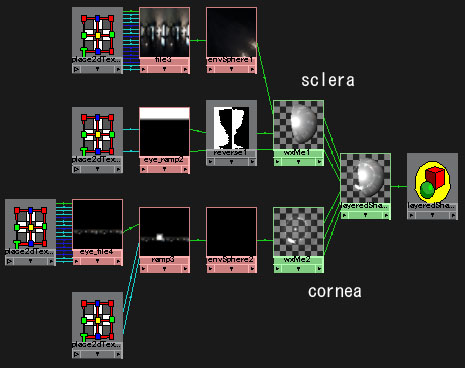
The connection graph was shown in the above figure.
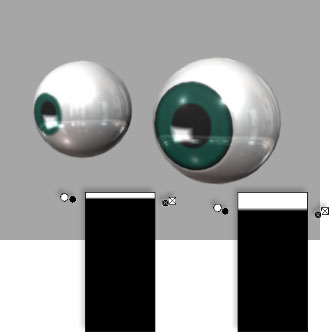
Set the size of the iris and pupil on the scale of the modeling data.
Adjust the range for the transparent area of the eyeball with the Ramp Texture.

hello sir Maya video tutorials i want this type .i learn Maya improve my skill
Thank you for your visiting my site and your commenting.
thanks for giving
Thank you very much for your comment.
this maya tutorial the eyes look to big to me